The ritual of lighting a new scented candle can transform any space with its warm glow and inviting aroma. But like any good thing, there’s a fine art to enjoying candles to their fullest. It’s not just about the immediate ambiance but also about preserving the candle’s lifespan and ensuring each burn is as perfect as the first.
As you light that pristine wick and watch the surface begin to melt, understanding the nuances of candle care becomes essential. Burn a candle too briefly, and you may end up with a tunneled wick that refuses to light. Let it burn for too long, and you risk a smoky wick and a soot-lined glass.
So, what is the golden rule for that initial burn? And how can you gauge the ideal burning time to maximize both safety and scent? This guide will provide you with a flicker of insight into the world of candle care, answering the most burning questions and ensuring that your experience remains both fragrant and flickering.
How Long to Burn a Candle for the First Time
Igniting a new candle is more than a delightful experience—it’s also an opportunity to set the stage for optimal performance throughout its life. Before introducing flame to wick, it’s crucial to place your candle in a scene that ensures both safety and longevity. Choose a heat-resistant surface, clear of any items that might catch fire, and beyond the curious paws and hands of pets and children. Though candles are designed to contain their own wax, placing a tray beneath can be a wise safeguard against any unexpected drips.
When preparing for that inaugural burn, resist the urge to trim the wick. Quality candles are crafted with wicks trimmed to the perfect length for their first use. Remove any plastic or packaging that could interfere with the flame, and use a match or lighter to gently ignite the wick, allowing it to catch fire fully.
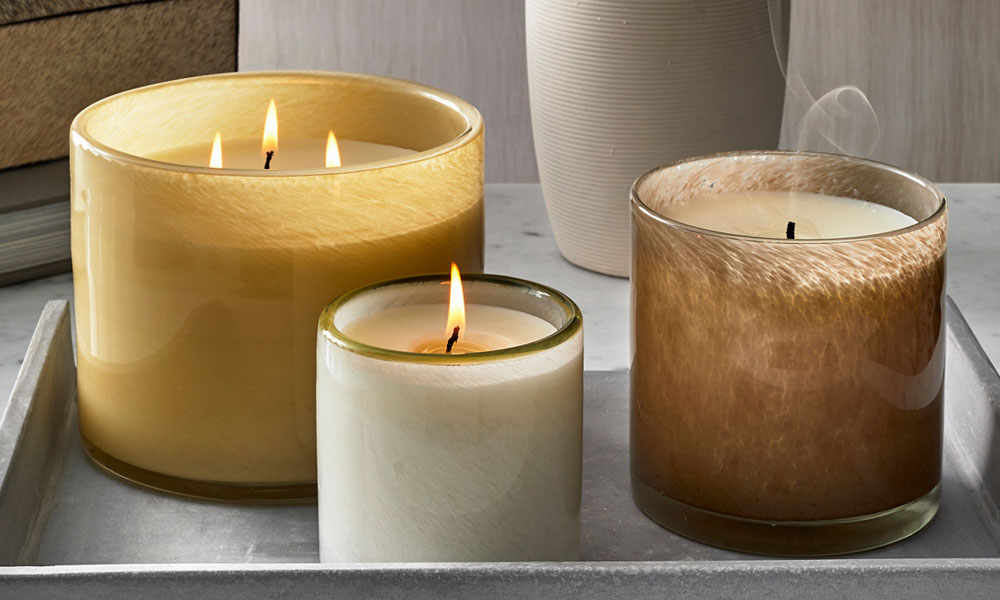
The duration of this initial burn plays a pivotal role in the candle’s future performance. It should be sufficient to create a pool of melted wax that extends across the candle’s surface. This is crucial in preventing tunneling—a candle’s bane that results in wasted wax and a diminished lifespan. For single-wick candles, an hour per inch of diameter is a good rule of thumb, ensuring an even and full wax pool. For those with multiple wicks, light them swiftly and simultaneously to promote an evenly melted surface from the start.
How to Extinguish a Candle Properly
A candle’s dance should end as gracefully as it begins. To maintain the quality of your scented candle and ensure its longevity, it’s crucial not to overindulge in its burn time. Four to five hours is generally the maximum span to enjoy its fragrance before it’s time to say goodbye for the evening. Beyond this point, the aroma doesn’t intensify, but the likelihood of uneven cooling and potential tunneling for future burns increases.
When the wax pool has achieved its full reach across the surface, it’s time to extinguish the flame with the same care and consideration you used to light it. While a quick puff of breath might seem convenient, it can lead to wax splatter and a smoky aftermath. Instead, consider these elegant and effective methods to extinguish your candle:
- Snuffing the Flame: A candle snuffer, designed to deprive the flame of oxygen gently, is a traditional and effective tool. Exclusively designed by LAFCO New York, this luxurious, thoughtfully crafted wick trimmer simultaneously trims and snuffs the wick with a special blade and stores the trimming until it can be easily disposed of. The trimmer has been designed to be used on a burning or extinguished wick
- Using a Lid: If your candle arrived with a non-flammable lid, it could double as a snuffing device. Carefully place it over the candle to cut off the oxygen supply. Exercise caution with the hot container to avoid any burns.
- Wick Dipping: A wick dipper can gracefully bend the wick into the wax, extinguishing the flame without smoke. This method also preps the wick for the next lighting by coating it with a layer of wax. Remember to reposition the wick upright after dipping for a centered burn next time.
Post-extinguishing, patience is key. Allow the candle to cool completely, ensuring the wax resets uniformly. This pause is not just a practical step but a ritualistic closure to your candle’s performance, setting the stage for an optimal re-lighting experience.
How to Make Your Candle Last
The secret to a long-lasting candle lies in the care you take each time you light it. Proper initial burning sets the stage, but consistent maintenance ensures that your scented candle continues to fill your space with its enchanting aroma without burning out prematurely.
To enjoy your candle to the fullest, consider these steps:
- Consistent Care: Each time you burn your candle, aim to create an even wax pool across the surface. This habit prevents tunneling and ensures an even burn in future uses.
- Wick Trimming: Before each lighting, inspect the wick. A wick burdened with carbon build-up can lead to a less than ideal flame—too high, too hot, or smoky. By trimming the wick to approximately 1/4 inch, you’ll maintain a clean burn and avoid unnecessary smoke or soot.
Trimming is simple: wait until the wax is cool and the wick is firm. Use a wick trimmer or a pair of scissors to cut cleanly through the wick, removing any ‘mushroom’ formation or excess charred material. This little bit of upkeep can greatly extend the life of your candle and enhance your experience, ensuring that the flame burns bright and true, casting its glow and fragrance as intended.
Looking for a tool to streamline the process? LAFCO’s combination wick trimmer & snuffer safely extinguishes the candle while simultaneously trimming the wick, readying the candle for reuse.